In this network and internet era, people need more reliability and seamless connectivity at every location. For house that has more than two stories, Wavlink extender AX1800 is most preferable. Here, you will get to know the features and full guide for Wavlink setup (Wavlink AX1800 setup). Let’s start with the features.
There are a lot of features that a Wavlink AX1800 extender provides to internet users. It is an outdoor device that you can use to make the signal connectivity stronger and reliable.
The Dual-band technology provided by the Wavlink AX1800 outdoor WiFi extender makes you’re your home filled with internet connectivity. The extender has the option of 2.4GHz as well as the 5GHz with 1800 Mbps internet speed. It can be changed from the interface or app of the brand from your computer and phone.
This Wavlink extender also provides the PoE technology to the internet users. You don’t need any more power cables or adapters to supply power. You can use the Ethernet cable to supply electricity to the AX1800 extender. It is easy, simple and great thing is without a power cord. It saves money, and time as well as this method of connectivity is reliable.
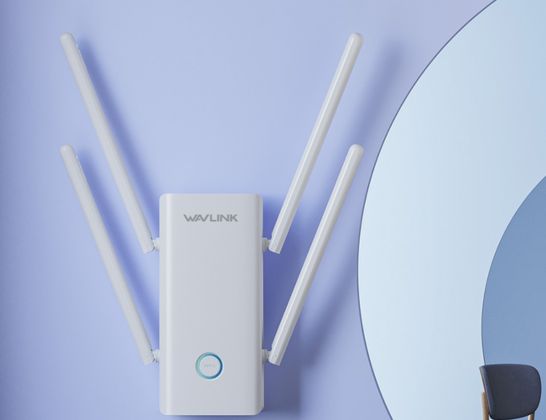
As you know there are a lot of small extenders out in the network market, but not like Wavlink extender. It is thin on the sideways and even with that provides Ethernet ports, so that you can easily connect LAN cables with it. Also, on that small body of the extender, you will find the WPS button, power button and reset button.
There are a lot inbuilt features in the Wavlink AX1800 extender. The best feature is PoE and WiFi 6 technology in low cost. The other features like user-friendly interface, parental controls for your safe browsing, Small body, and WPS option wide range. In GUI interface, you will find latest Update firmware options and versions along with recommended device.
The installation procedure of the extender devices is pretty simple and user-friendly. There are several methods to complete the setup. Have a close look at instructions and choose one of them.
There is a WPS button on the AX1800 extender that connects it to the home router. But, you must make sure that the router has the WPS button or supports the method.
The LED color on the extender will became stable after that connection. it means the link is successful and extender set as in the default settings.
The web-based GUI interface accessible through your computer or laptop. You can use the URL and IP address to reach the Wavlink setup page.
Quick Tip: Your PC or laptop must be connected to the Wavlink network, if not then you can’t access the interface login page on the browser.
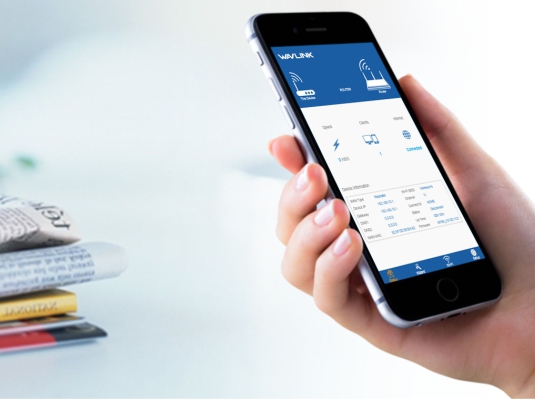
The first step you need to do is download the Wavlink app in your phone from the Play Store or App Store. Then, follow below given instructions;
Now, that you have completed the Wavlink AX1800 setup, you must have some doubts in your mind, so to make hem clear scroll more. You can also use these tips to resolve the issues like Wavlink extender not working or interface is not responding in your computer.
For security reasons, user must change the extender WiFi password. Access the Wavlink interface page within computer or laptop. Open the Settings tab > select Wireless Networks > SSID > enter new password > SAVE.
The interface is full of settings. Firmware update process can also be initiated from this setup window. Access the AX1800 extender interface using computer. Go in to the settings > Firmware > download the latest file > paste it into the same tab > click on UPDATE.
Rebooting process is pretty easy. It is just turn off and turn on thing. There are two methods. The first one is press the power button for two times. The second is plug out the extender from the wall socket and plug it again.
There is a RESET button on the back of the extender device. You have to use a sharp object like pen or pin. Press and hold the RESET button and release it after few seconds. After that all data from the device will clear out. Then, you have to configure it again.
As you know, the extender is of Dual-Band technology. You can change 5GHz to 2.4GHz channels in seconds. Start with accessing the interface in computer and click on the Setting. Select the Wireless Networks > Frequency > Select the 2.4GHz band > Save the changes.
The AX1800 extender admin username, password, IP address, admin URL address, MAC address and other default information is given on the label or in the user manual of the device.
